So you have decided you want to start your loc journey but you are not quite ready to book a loctician. Maybe the budget is not there right now. Maybe there are no experienced locticians in your area. Or maybe you are just someone who loves doing things yourself and wants to understand the process from the inside out. Whatever the reason, starting locs at home is absolutely possible and people do it successfully all the time.
As a loc technician, I will be honest with you though. Going the DIY route requires more research, more patience, and more discipline than going to a professional. You will not have someone assessing your hair, recommending the best method for your texture, or catching mistakes before they become problems. All of that responsibility falls on you. And that is completely fine as long as you go into it prepared.
Before we get into the how, if you have not already read our last post on what loc rot is and how to prevent it, please go and read that first. It covers one of the most serious loc health issues out there and the habits that prevent it are just as important whether you are working with a loctician or going it alone. Now let’s get into everything you need to know about starting locs at home.
Be Honest About Whether DIY Is Right for You
Before you pick up a comb and start sectioning your hair, take a moment to be honest with yourself about a few things. DIY locs work best for people who are willing to do real research before starting. They work best for people who are patient enough to redo sections that do not look right. They work best for people who understand that mistakes made at the installation stage can affect their locs for years.
If you are someone who gets frustrated easily or wants immediate results, the DIY route might add more stress than it removes. In that case, saving up for a professional installation might serve you better in the long run. But if you are genuinely committed to learning the process and doing it properly, starting your locs at home is a completely valid and rewarding path.
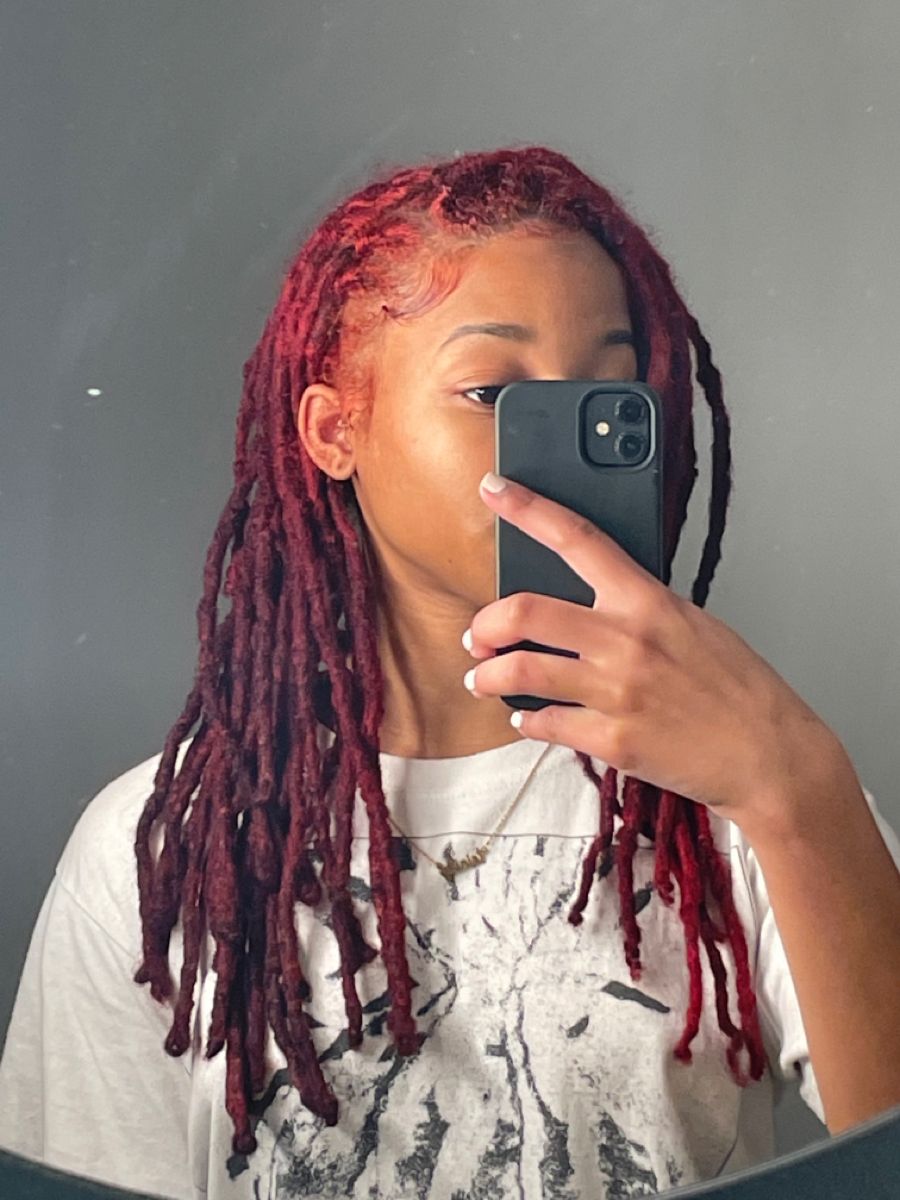
See what everyone loves:10 stunning loc color ideas from honey blonde to burgundy
What You Need Before You Start
Getting the right tools together before you start makes the whole process smoother and more manageable. Here is what you will need.
A Rat Tail Comb
A rat tail comb is essential for creating clean, even sections. The pointed tail end lets you part the hair precisely, which is important because your parting pattern affects how your locs look and develop for the entire journey. Do not try to section your hair without one.
Sectioning Clips
You will need a good supply of sectioning clips to keep the parts of your hair you are not working on out of the way. Working in an organised way section by section makes the whole installation much more manageable and reduces the risk of accidentally disturbing sections you have already done.
A Good Mirror Setup
You need to be able to see what you are doing clearly, including the back of your head. A standing mirror combined with a handheld mirror is the most practical setup for a DIY loc installation. Trying to work on the back of your head without being able to see properly is one of the most common reasons DIY installations go wrong.
Bookmark this for later: 10 loc hairstyles perfect for a 9-to-5 job
Loc Friendly Products
You do not need much. A light holding gel that is residue free helps the starter locs hold their shape in the early stages without causing build up. A light oil for the scalp keeps things moisturised during the installation process. And a residue free shampoo for your first wash after installation. That is genuinely all you need. Do not be tempted to reach for wax. Wax does not wash out and it causes build up that is incredibly difficult to remove later.
Time
This one is not a product but it matters just as much as anything else on this list. A DIY loc installation takes time. A lot of time. Depending on your hair length, density, and the method you choose, you could be looking at anywhere from four to ten hours or more. Set aside a full day. Do not rush. Rushing a loc installation is how uneven sections, poorly formed locs, and a lot of frustration happen.
Choosing the Right Starting Method
The method you choose to start your locs at home is one of the most important decisions you will make in this process. Different methods suit different hair types and produce different results. Here is a breakdown of the most common methods and how they work.
Save this guide for when you need it: 12 cute ways to style locs with accessories and jewelry
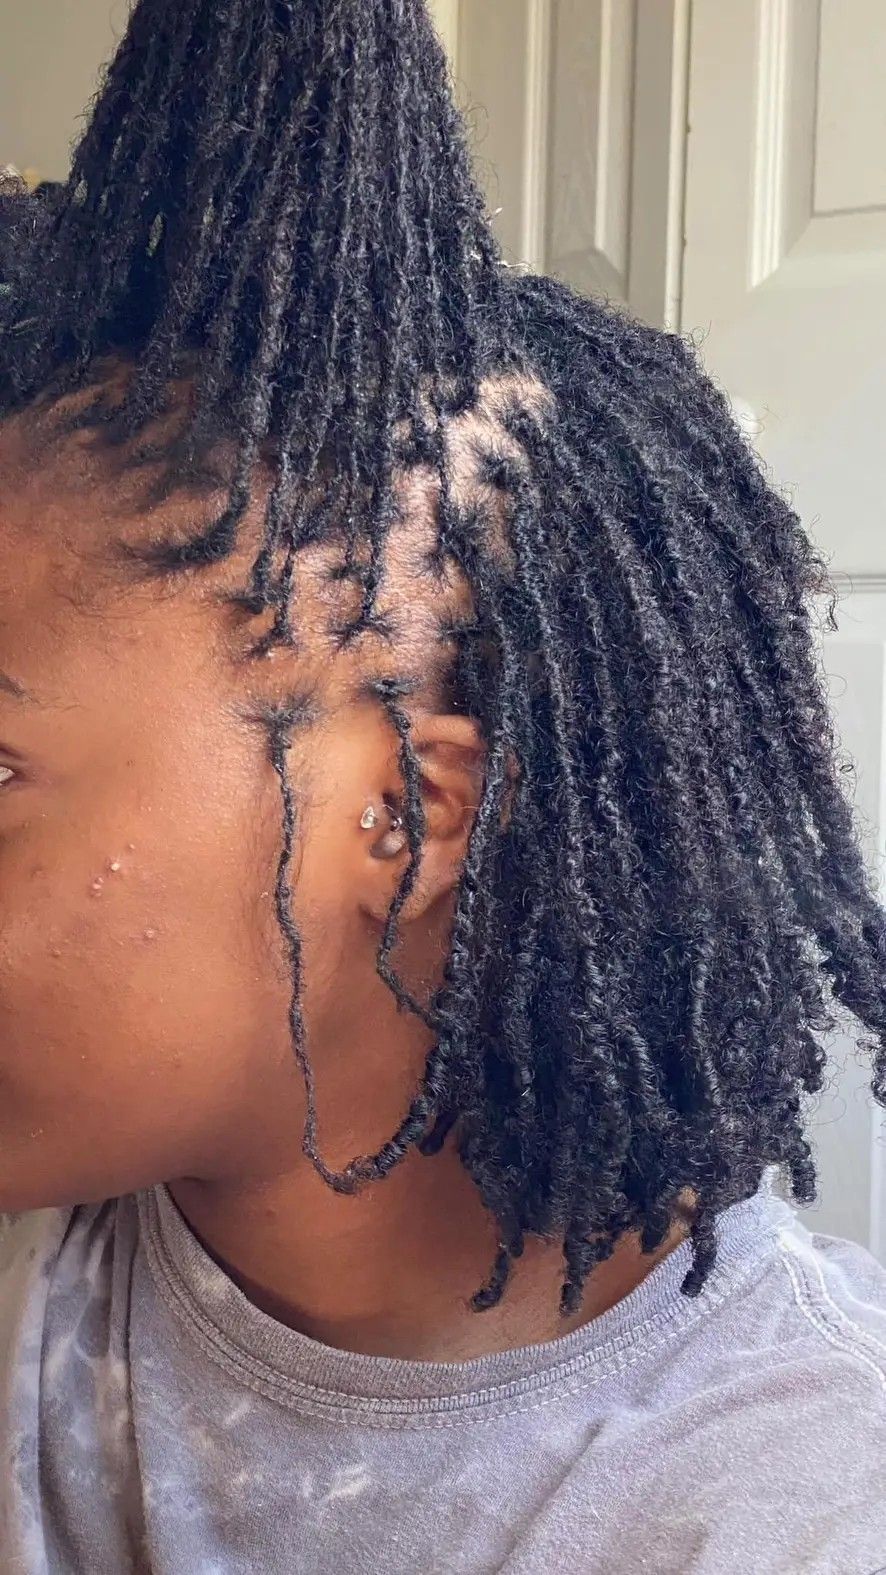
Two Strand Twists
Two strand twists are one of the most popular starting methods for home loc installations and for good reason. The technique is straightforward, it works well on a wide range of hair textures, and it produces locs with a beautiful, slightly ridged pattern once they mature.
To create a two strand twist, divide a section of hair into two equal parts. Twist them around each other in one direction from root to tip. That is the basic technique. The key is consistency. Every twist should be done with the same tension and in the same direction throughout your entire head. Inconsistent tension produces locs that develop unevenly, with some locking faster than others.
Two strand twists need at least an inch and a half to two inches of hair to hold properly. If your hair is shorter than that, coils are a better option.
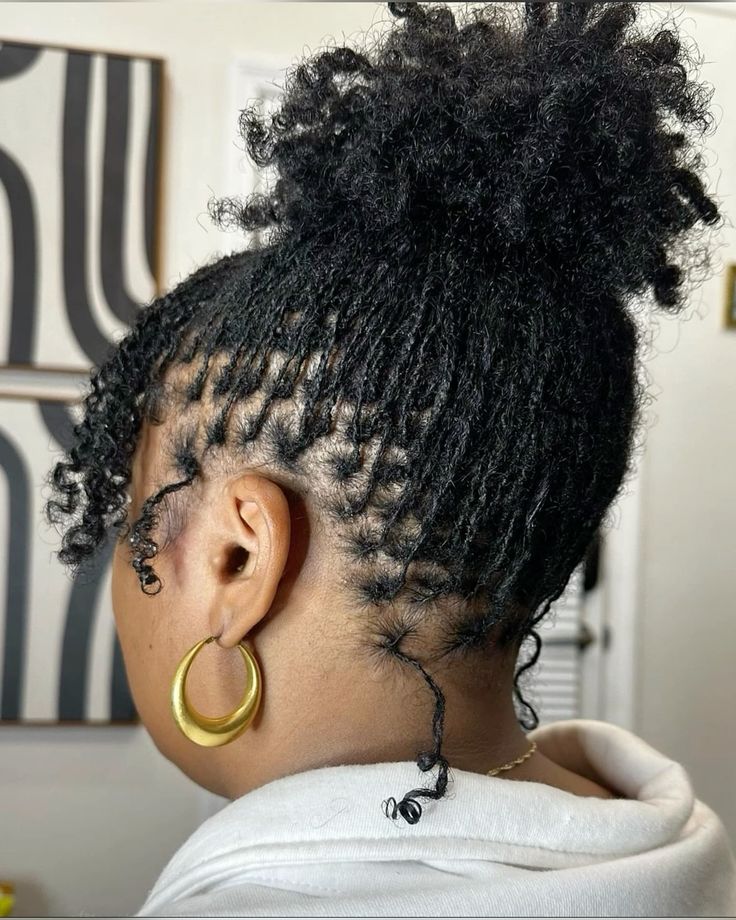
Coils
Coils are the best starting method for short hair and they work well on tighter, kinkier textures. Using a comb or your fingers, you coil a section of hair around itself in a circular motion until it forms a tight spiral. The result is a small, neat coil that sits close to the scalp.
Coils on short hair look incredibly clean and defined right after installation. The challenge is that they are more vulnerable to unravelling in the early stages, especially with washing. Be extra gentle with your coils in the first few weeks. Avoid aggressive washing, heavy manipulation, and anything that puts direct tension on them before they begin to lock.
Braids
Starting locs with braids is less common than twists or coils but it is a valid method that works well for certain hair types, particularly looser textures. Braided starter locs tend to produce flatter, more rectangular locs rather than the rounder cylindrical shape that twists and coils create. Some people love this look. Others prefer a rounder loc. It is worth knowing the difference before you decide.
Braids are also more stable than coils or twists in the early stages, which makes them a good option for people who are worried about their starter locs unravelling before they begin to lock.
You’ll want to come back to this: The honest truth about the loc “ugly stage” and how to push through
Interlocking
Interlocking is a more advanced technique and is harder to do on yourself without practice, especially at the back of the head. It involves pulling the loc through its own base using a tool or your fingers to create a tight, secure root. The results are excellent but the learning curve is steeper than with twists or coils.
If you want to try interlocking at home, spend time watching detailed tutorials and practise on a small section at the front of your head first before committing to your entire head. If it does not feel right, do not push through. This is one of those methods where getting professional help for the installation and maintaining at home afterward is a reasonable compromise.
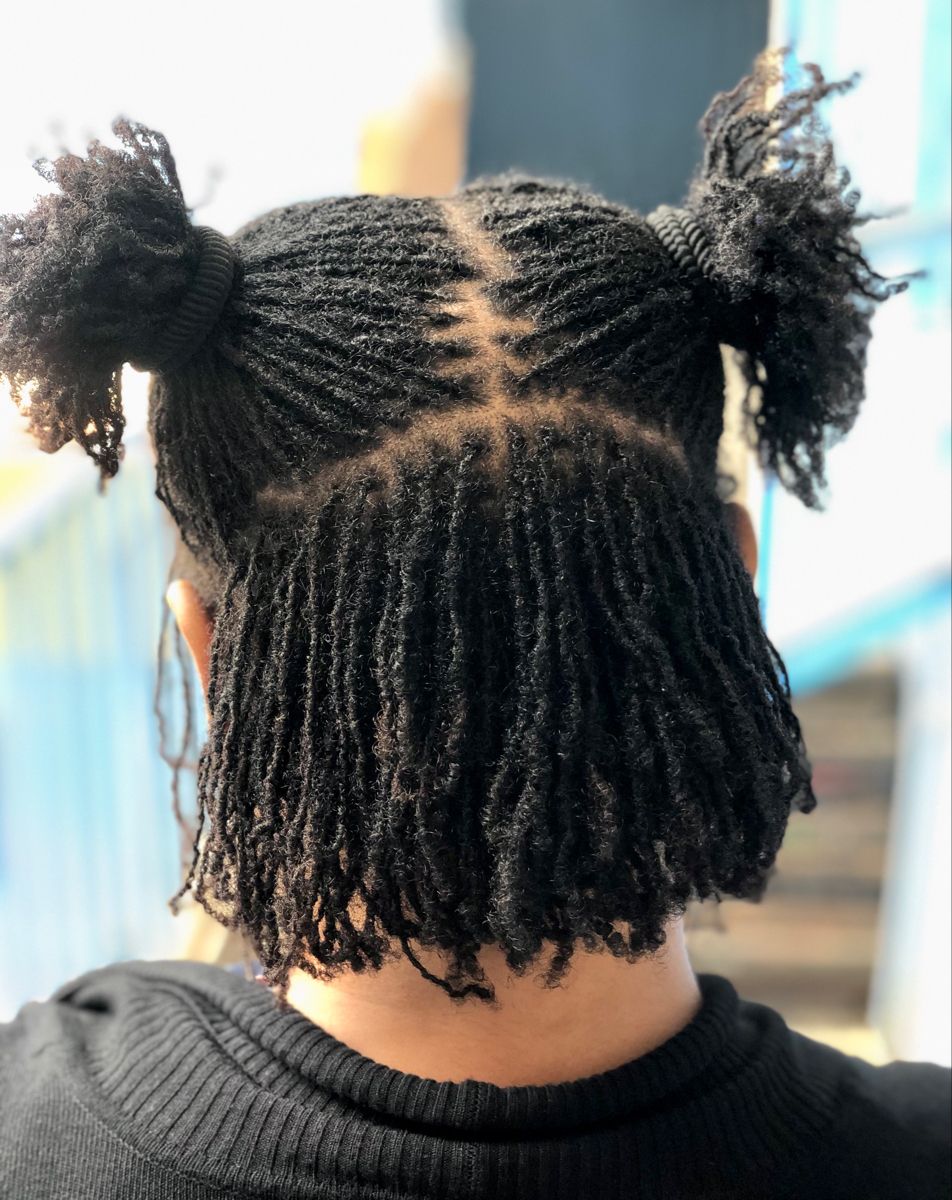
How to Section Your Hair
Sectioning is the foundation of a good loc installation. The size and pattern of your sections determines how many locs you end up with, how thick they are, and how your scalp looks between the locs as they mature. Getting this right matters.
Save this post for future reference: How long does it actually take to get fully mature locs
Choosing Your Section Size
Section size determines loc thickness. Smaller sections produce thinner locs and more of them. Larger sections produce thicker locs and fewer of them. Think carefully about what you want your mature locs to look like and section accordingly.
A common mistake in DIY installations is making sections that are too large. Thick locs take longer to loc, take longer to dry after washing, and are harder to style in the early stages. Unless you specifically want very thick locs, medium sized sections are usually the most versatile and manageable choice.
Choosing Your Parting Pattern
The two most common parting patterns are the traditional grid and the brick lay pattern. The traditional grid creates even rows of sections that line up horizontally and vertically. It is neat and symmetrical. The brick lay pattern staggers the sections like bricks in a wall. It creates a more natural look and makes the parting lines less visible between the locs.
For DIY installations, the traditional grid is easier to execute consistently. The brick lay pattern looks more organic but requires more precision to get right. Start with whichever feels more manageable for you.
Don’t forget to bookmark this: 5 stages of locs and what to expect at each one
Working in an Organised Way
Start at the back of your head and work your way forward. This means the sections at the back, which are hardest to see and reach, get done first when you are freshest and most focused. Work in horizontal rows from the nape of your neck upward. Clip away the hair you are not working on so it stays out of the way.
Take your time with each section. Use your rat tail comb to create clean, precise parts. When each section is done, clip it in place before moving on to the next one. Organisation is what separates a clean, even DIY installation from a messy one.
The Installation Process Step by Step
Now let’s put it all together. Here is how to approach your DIY loc installation from start to finish.
Step One: Wash and Detangle
Start with clean, detangled hair. Wash with a residue free shampoo and dry your hair thoroughly before you begin. Starting on dirty or product heavy hair interferes with the locking process. Starting on damp hair makes it harder to create clean, consistent sections and increases the risk of mildew developing in your starter locs before they have a chance to lock.
Step Two: Section and Clip
Begin at the nape of your neck. Use your rat tail comb to create your first row of sections using whichever parting pattern you have chosen. Clip each section as you go to keep everything organised and in place.
Pin this for later: What to Expect Financially When You Start and Maintain Locs Professionally
Step Three: Apply Your Starting Method
Work through each section applying your chosen starting method, whether that is two strand twists, coils, or braids. Be consistent with your tension throughout. Every loc should be done with the same firmness from root to tip. Apply a tiny amount of your light holding gel to each section if needed to help it hold its shape.
Step Four: Work Your Way Forward
Continue row by row from the nape of your neck toward your hairline. Take breaks when you need to. Rushing leads to inconsistency and inconsistency shows up in your mature locs later. If something does not look right, redo it. It is much easier to fix a section during installation than after the locking process has begun.
Step Five: Finish and Dry
Once your entire head is done, sit under a hooded dryer or use a diffuser to set your starter locs. This helps them hold their shape and removes any moisture from the installation process. Make sure your hair is completely dry before you go to bed.
The First Few Weeks After Installation
The first few weeks after your DIY installation are the most critical. Your starter locs are at their most vulnerable during this time and how you treat them now directly affects how they develop.
Resist the Urge to Over Manipulate
I know it is tempting to keep touching, adjusting, and redoing sections that do not look exactly as you imagined. Resist that urge as much as possible. Every time you manipulate a starter loc, you are interrupting the locking process. Leave your locs alone as much as you can in those first few weeks and let the hair begin to do its thing.
Save this so you don’t forget: A Beginner’s Guide to Starting Locs
Your First Wash
Wait at least two weeks before your first wash after installation. When you do wash, be gentle. Use an applicator bottle to apply diluted shampoo directly to the scalp. Squeeze and press rather than scrubbing. Rinse thoroughly. And dry completely afterward. Your starter locs will likely look a little fuzzy and loose after the first wash. That is completely normal. They will tighten back up as they dry.
Retwisting
In the early stages, you will need to retwist your roots every four to six weeks as new growth comes in. Retwisting at home follows the same technique as the installation. Part cleanly, apply consistent tension, and work section by section. If retwisting feels difficult or you are not happy with your results, this is a good point to consider bringing in a loctician for maintenance even if you started your locs yourself.

When to Call in a Professional
Starting your locs at home does not mean you have to do everything alone forever. There are situations where calling in a professional is the smartest move you can make.
If two or more of your locs are fusing together when you do not want them to, a loctician can separate them before the fusion is complete. If you notice thinning at the roots of certain locs, a professional can assess whether tension, technique, or something else is the cause. If your locs are not progressing through the stages as expected, a professional can give you an honest assessment of what is happening and what needs to change.
Think of a loctician not as a replacement for your DIY journey but as a resource you can tap into when you need expert eyes on your hair. There is no shame in asking for help. The goal is healthy, beautiful locs and sometimes getting there means knowing when to bring in support.
Keep this guide handy: 10 starter loc methods and which one is right for your hair type
Final Thoughts
Starting locs at home is a deeply rewarding experience. There is something really special about doing this for yourself, learning your hair intimately through the process, and watching something you built with your own hands grow and develop over time.
Go in prepared. Get the right tools. Choose the right method for your hair. Take your time with your sections. Be gentle in the early weeks. Dry your locs thoroughly after every wash. And enjoy the journey.
Your locs are yours from the very first twist. That is a beautiful thing.
Leave a Reply